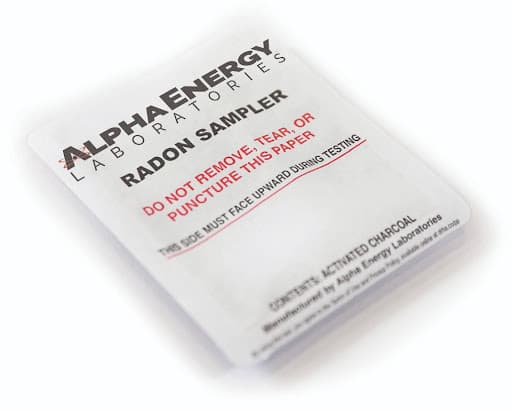
How to test your home for radon - Radon is a natural radioactive gas that comes from uranium in soil and rock. You cannot see it or smell it, but it can build up inside homes. Breathing high levels of radon over time can increase the risk of lung cancer. The good news is that testing your home is simple, affordable, and the only way to know your radon level.
Step 1: Learn where radon comes from
Radon moves up through the ground and can enter a house through small openings. Common entry points include cracks in the foundation, gaps around pipes, sump pits, crawl spaces, and unfinished basements. Because radon comes from the soil, homes next to each other can have very different radon levels.
Step 2: Choose a test type
Most homeowners start with a short-term test. Short-term tests measure radon for a few days and give a quick snapshot. Long-term tests measure radon for 90 days to a year and give a better picture of your average level.
- Short-term test: Usually 2 to 7 days. Good for a fast answer.
- Long-term test: 90+ days. Best for understanding year-round exposure.
Step 3: Place the test in the right spot
Place the test in the lowest level of the home that you use regularly. If you spend time in a basement family room, test there. If your basement is only for storage and you live on the main floor, test on the main floor.
Set the test:
- At least 20 inches off the floor (like on a table or shelf)
- Away from drafts, windows, exterior doors, and vents
- Away from high humidity areas (do not place in bathrooms or laundry rooms)
- In a room where people normally spend time, such as a living room, bedroom, or family room
Step 4: Follow “closed-house” conditions (for short-term tests)
For the most accurate short-term results, keep windows and outside doors closed as much as possible for 12 hours before the test and during the test. Normal entry and exit is fine. You can run your heating or air conditioning as usual, but avoid using fans that pull air from outside.
Step 5: Run the test and send it in
Each test kit has instructions. Some kits use a charcoal canister. Others use a detector that stays in place longer. When the test time is complete, seal the kit and mail it to the lab right away. A lab will measure the radon level and report your result, usually in picocuries per liter (pCi/L).
Step 6: Know your options if radon is high
If your levels are elevated, 2.0 pCI/L or higher, you can fix the problem. Radon can often be reduced with a mitigation system (commonly a vent pipe and fan) that pulls radon from under the house and releases it safely outside.
You can test on your own using a home test kit, but professional services can also test your home for radon. A qualified radon professional can help with test placement, confirm results, and explain next steps.
The Utah Radon organization offers a free source for radon testing so you can get started without guesswork. If you are not sure which test to choose, start with a short-term kit, follow the instructions closely.